
気温が下がったので元気が少し回復し、すこしきりっと顔をした柴犬です。
概要
コマンドで「excel」のシートを「pdf」に変換できることが分かりました。
次のようなサーバーのlibreofficeの活用を考えてみました。
① クライアントからサーバーに接続して「excel」ブックをアップロードします。
② サーバーのlibreofficeを使ってブックのシートを「pdf」に変換します。
③ 「pdf」をダウンロードする。
今回は、①のサーバーに接続を考えてみました。
今回、教科書にした本です。

先週までは、暑さに負け散歩の途中で地面の横たわっていましたが、今日は暑さが緩みシャシッキと座ることができました。
今回使用したサーバー
XServer の VPS 2GB を使用しました。
インストールした OS は CentOS Stream 9 です。
Ubuntu とはコマンドが少し違うことを考慮して見てください。
Libreoffice のインストール
ターミナルを起動させて、「root」権限にします。
ディレクトリ「opt」にフォルダー「libreoffice」を作ります。
mkdir /opt/libreofficeカレントを作成したフォルダー「libreoffice」に移動させます。
cd /opt/libreoffice前回、使用したコンパイル済のファイルをダウンロードします。
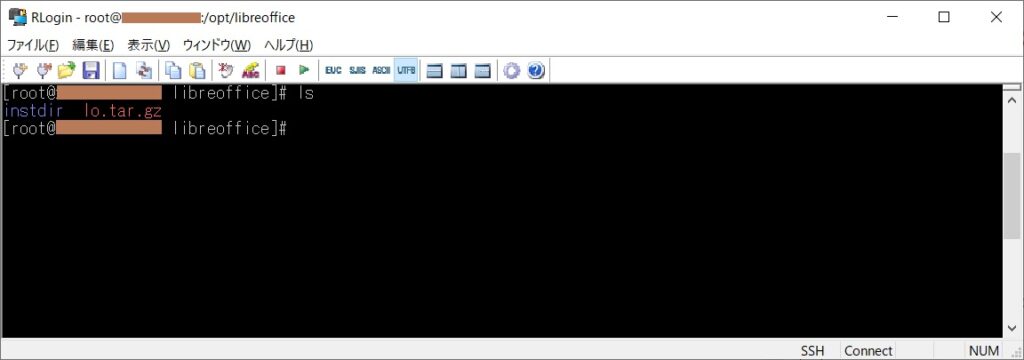
curl -L https://github.com/vladgolubev/serverless-libreoffice/releases/download/v6.1.0.0.alpha0/lo.tar.gz -o lo.tar.gzダウンロードしたファイルを展開します。
tar -xf lo.tar.gzその結果を、コマンド「ls」を叩くと、次の画面のようになります。
続いて、「/etc/systemd/system」にユニットファイル「soffice.service」を作成します。
systemd のユニットファイルの作成
ルート権限で /etc/systemd/system/soffice.service を作成します。
以下のコードを打ち込みます。
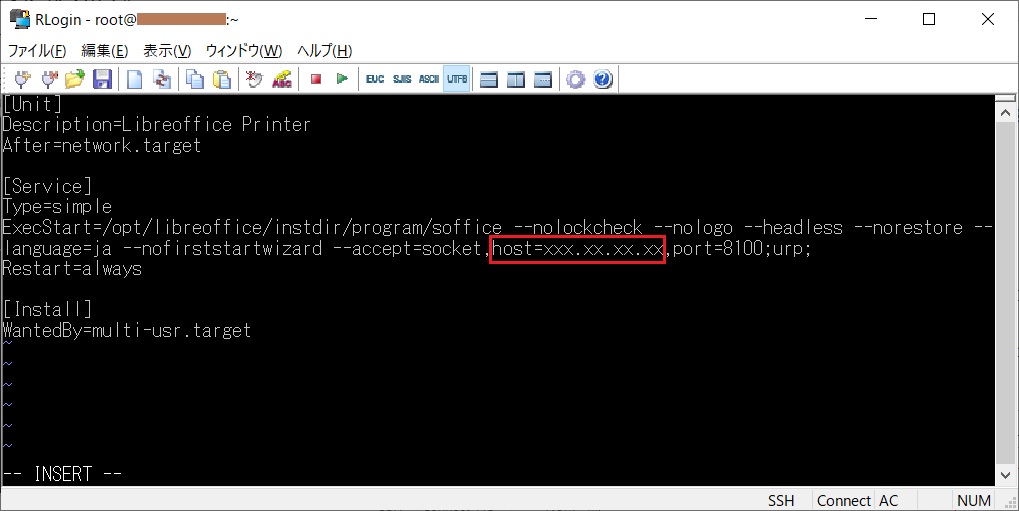
「host=xxx.xx.xx.xx」の「xxx.xx.xx.xx」部分にはサーバーのIPアドレスを入れます。ネットでクグルとlocalhost とか、127.0.0.1とかになっていますがここではIPアドレスを入れます。
[Unit]
Description=Libreoffice Printer
After=network.target

[Service]
Type=simple
ExecStart=/opt/libreoffice/instdir/program/soffice --nolockcheck --nologo --headless --norestore --language=ja --nofirststartwizard --accept=socket,host=xxx.xx.xx.xx,port=8100;urp;
Restart=always

[Install]
WantedBy=multi-usr.target
vim を起動します。
vi /etc/systemd/system/soffice.service 
「i」キーを押すと挿入モードになり編集ができるようになります。
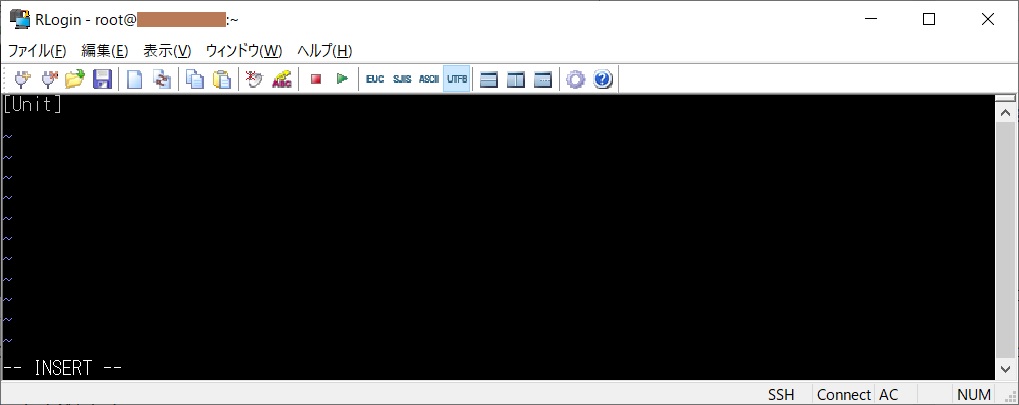
vim に打ち終わると次の画像のようになります。
「host=xxx.xx.xx.xx」の「xxx.xx.xx.xx」の部分は、対象のサーバーのIPアドレスにします。
保存は、「esc」キーを押して、「:」「w」を続けて押します。終了は「:」「q」を続けて押します。
サービスのスタート
保存が終わったら、サービスをスタートしてその状況を見てみます。
systemctl start soffice.service     サービスをスタート

systemctl enable soffice.service    再起動時の設定

systemctl status soffice.service    サービスの状況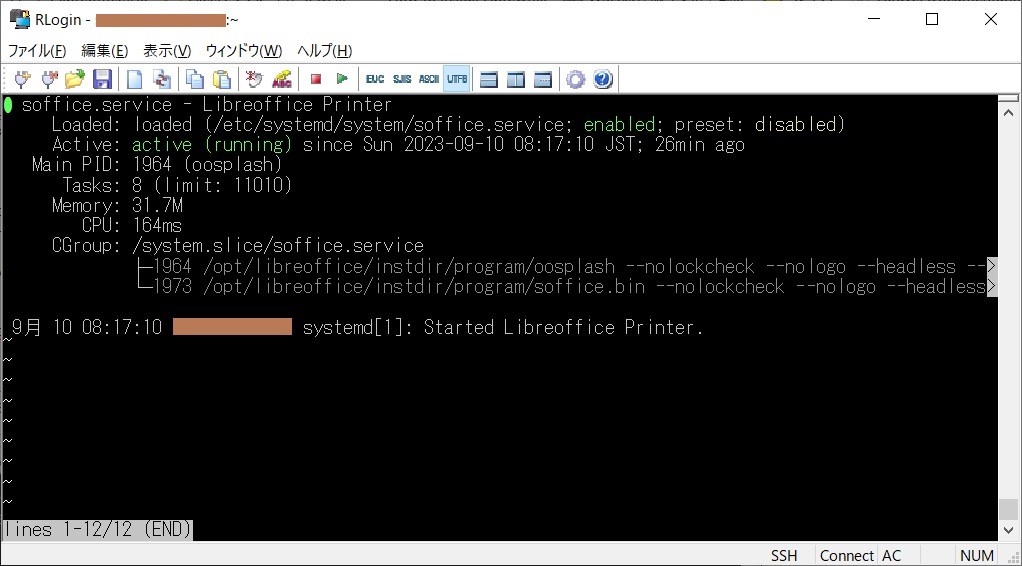
「status」の終了は、「:」「q」を続けて押します。
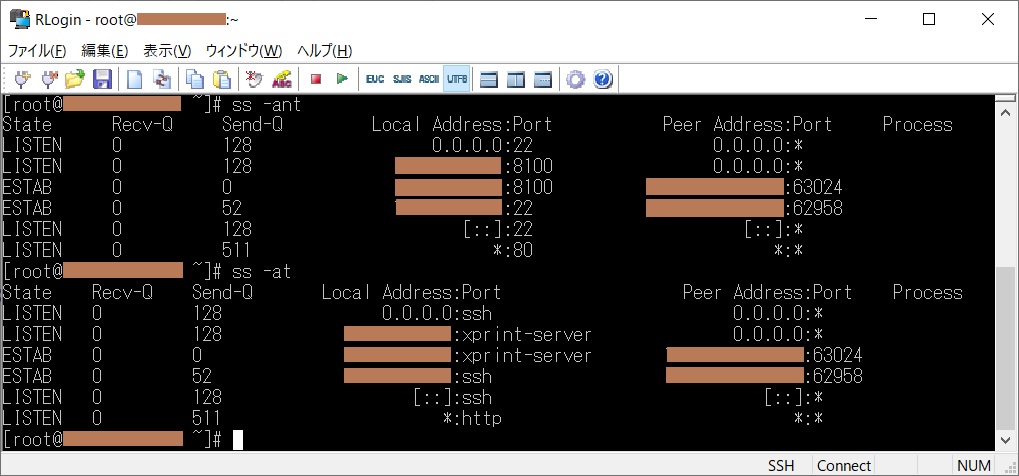
次のコマンドを打ち込んでポートの状況を見てみます。
ss -at     文字で表示

ss-ant     数値で表示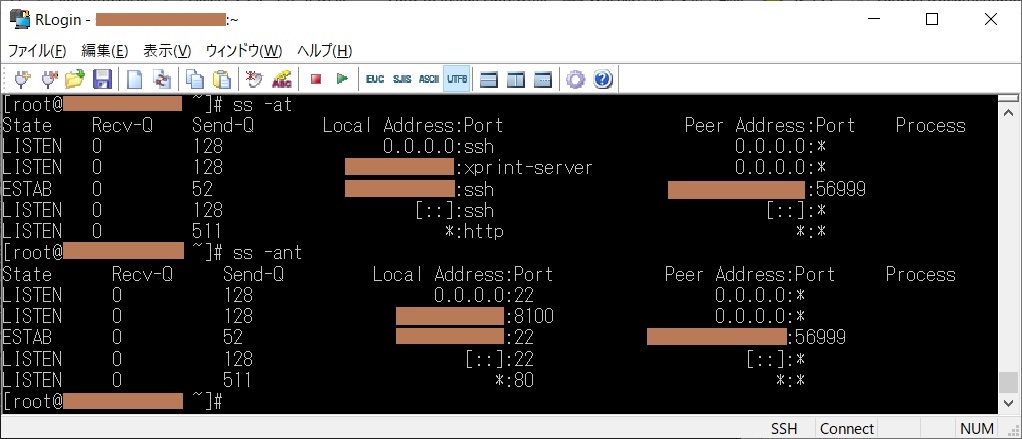
ブラウザのアドレスバーに「xxx.xx.xx.xx:8100」を打ち込んでみます。

サーバーのポートの状況を見てみます。
「8100」で接続しています。
今日はこれまでとします。